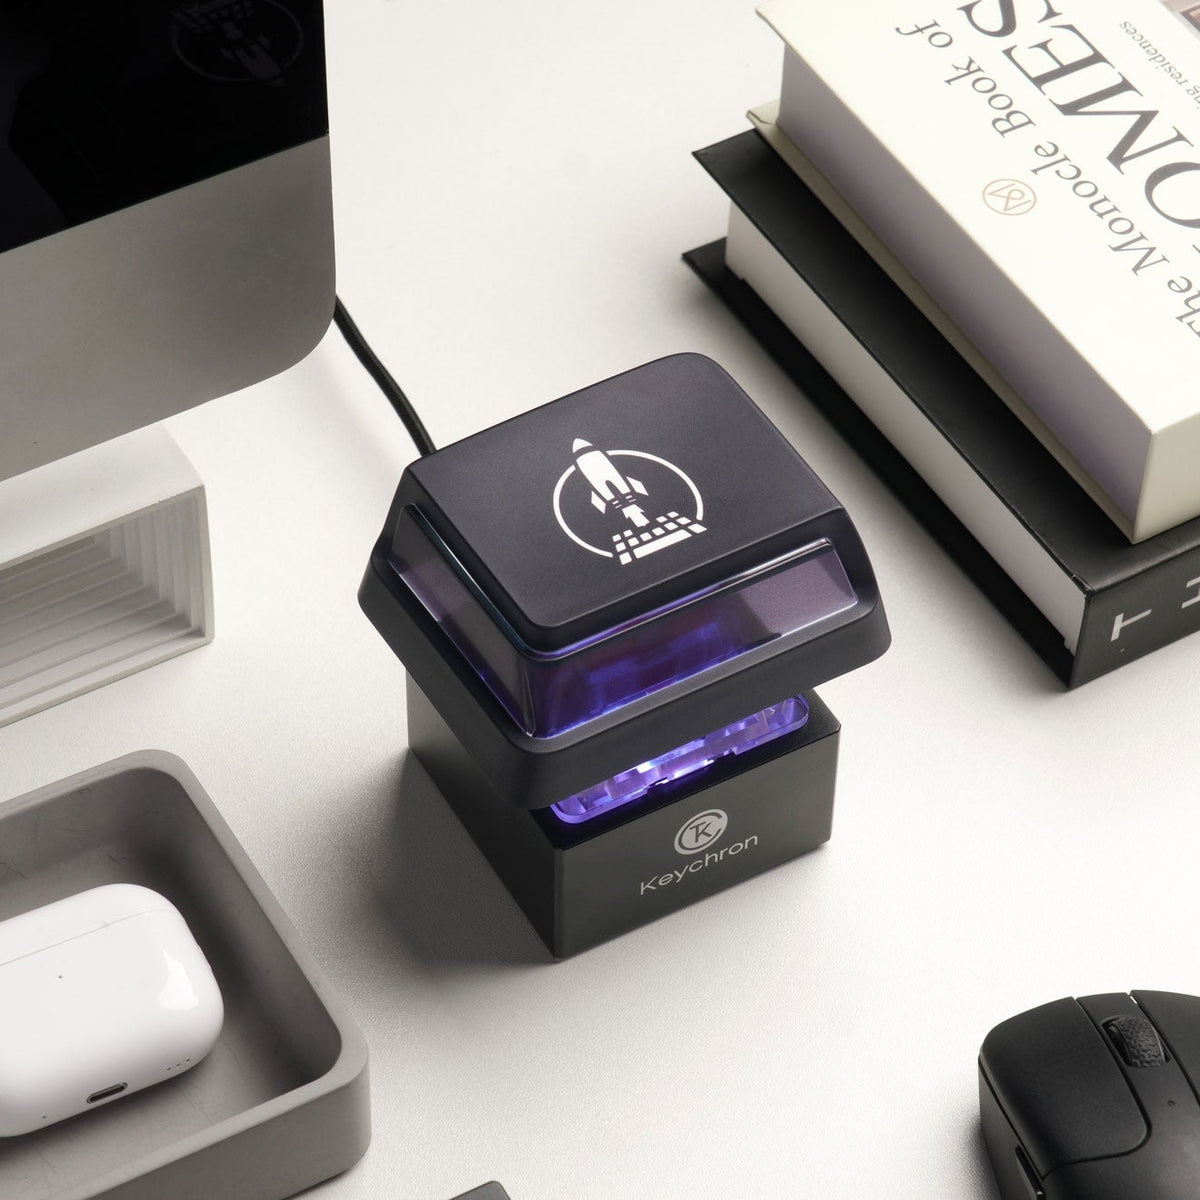
How to Disassemble the Keychron Q0 Mini 8K Action Key and Find the Reset Button
Official announcement republished verbatim (not rewritten or translated); source linked on this page.(Original language:English)
Shipping will start within 2 working days.
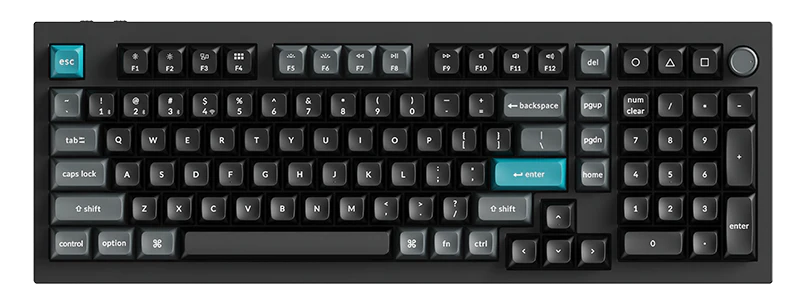
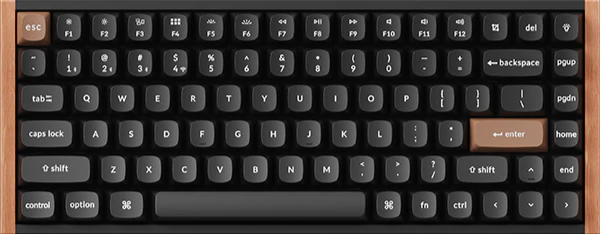
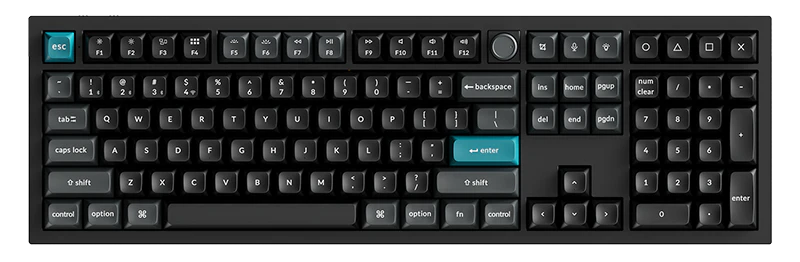
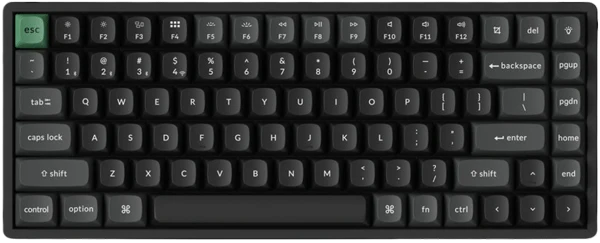
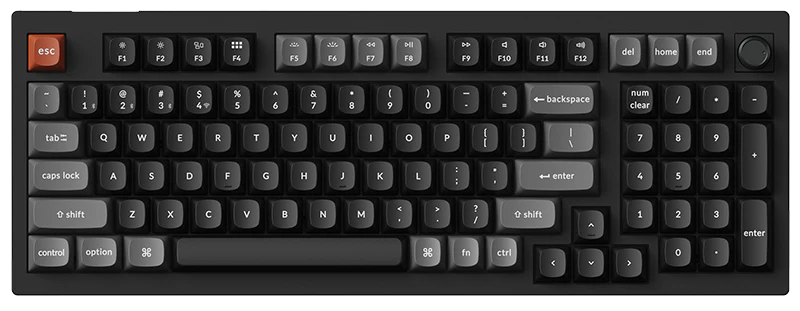
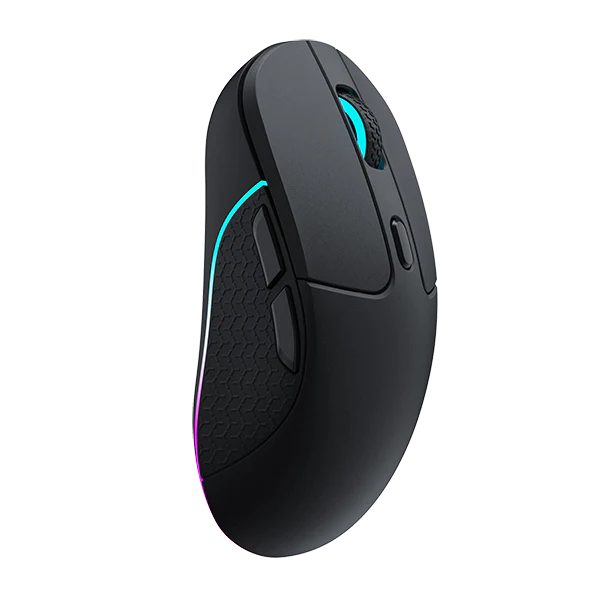
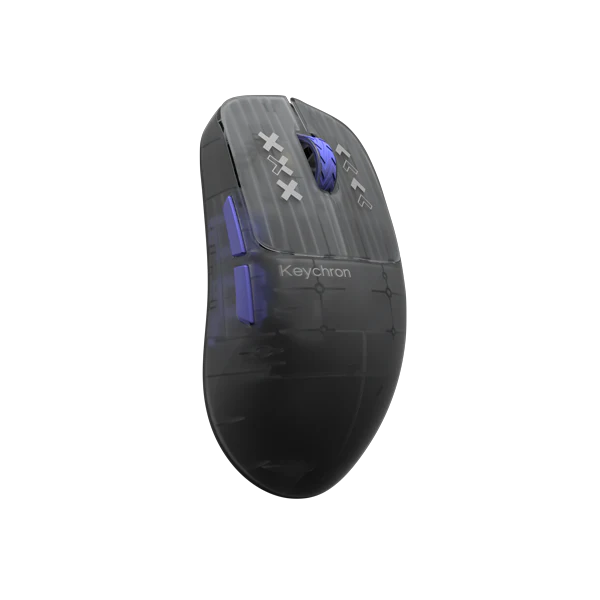
Keychron K2 HE Concrete Edition
Keychron Coiled Aviator Cable 8K
Keychron Double-Sleeved Geek Cable 8K
Keychron Keyboard and Mouse Carrying Case
Double Shot PBT OSA Full Set Keycap Set
Keychron Coiled Aviator Cable 8K
Keychron Double-Sleeved Geek Cable 8K
Keychron Premium Coiled Aviator Cable
Keychron Double-Sleeved Geek Cable
Keychron Keyboard and Mouse Carrying Case
Keychron Folio Case for Slim Keyboard
Gateron Switch and Keycap Puller
Gateron Switch Puller (Version 2)
Keychron Q1 HE Acoustic Upgrade Kit
Gold Plated PCB Mounted Stabilizers
Keychron Premium Coiled Aviator Cable
Keychron Keyboard and Mouse Carrying Case
Keychron Folio Case for Slim Keyboard
Gateron Switch Puller (Version 2)
Gateron Switch and Keycap Puller
Gold Plated PCB Mounted Stablizers
Keychron K2 HE Concrete Edition
Keychron Coiled Aviator Cable 8K
Keychron Double-Sleeved Geek Cable 8K
Keychron Premium Coiled Aviator Cable
Keychron Double-Sleeved Geek Cable
Keychron Keyboard and Mouse Carrying Case
Keychron Folio Case for Slim Keyboard
Gateron Switch and Keycap Puller
Gateron Switch Puller (Version 2)
Keychron Q1 HE Acoustic Upgrade Kit
Gold Plated PCB Mounted Stabilizers
Please follow the steps below to disassemble the Q0 Mini 8K Action Key and find the reset button if you need to flash the firmware.
Step 1: Remove the keycap of the Q0 Mini 8K Action Key
Hold the base with one hand and the keycap with the other, then pull it upwards to remove the keycap.
Step 2: Disassemble the switch and the base. Please follow the detailed steps below.
1. Peel off the silicone bottom pad.
2. Prepare a screwdriver, and turn it counterclockwise to remove the two screws in the base’s bottom.
(Click to play the video below.)
Specifications
- Shipping Time
- 2個工作日內
- Product Category
- 其他
Sources
Specs and launch info are cited from official sources; the analysis is our own original writing.
Disassembling the Keychron Q0 Mini 8K action key is not complicated, but it requires careful handling to avoid damage. First, ensure that the device is turned off and disconnected from power sources. After opening the package, you will see a seemingly ordinary keyboard, which actually contains many tiny yet crucial components.
By gently pressing and rotating the lock扣 located at the edge of the keyboard, you can open the keycaps. After carefully checking each key's small screws, use an appropriate screwdriver to remove these screws, revealing the circuit board inside. When looking for the reset button, be careful not to touch other components, as this could cause unnecessary damage.
Although the Keychron Q0 Mini 8K action key offers excellent features, the disassembly process still requires patience and attention to detail. We recommend consulting official manuals or video tutorials before performing any operations to ensure safety. Rest assured, shipping is expected to start within 2 working days.
Pros
- Easy to disassemble
Discussion